Uploading Assets
Starting Upload
You can upload asset files or folders from your local PC for analysis. However, this is only available in the [Assets] or [Tags] view.
-
Select the [Analysis] menu from the top navigation bar.
-
Click the [Upload] button at the bottom of the asset list panel on the left side of the screen.
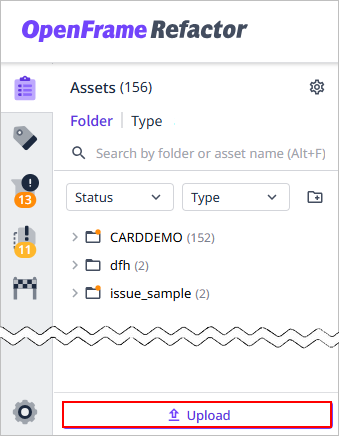
If there are no assets currently uploaded, you can drag and drop asset files and folders into the asset list panel to upload them.
-
When the Upload Asset screen opens, set the upload information. (*: Required)
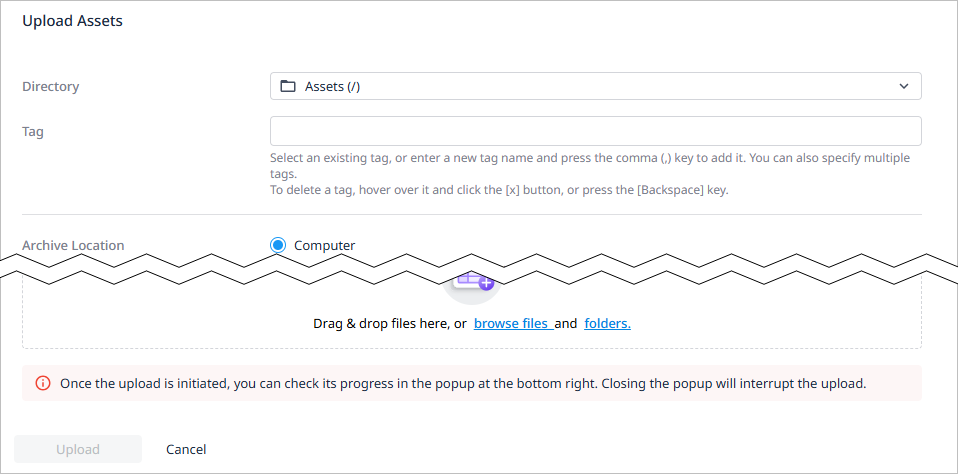
Item Description Directory
location where the assets will be stored.
Tag
Tags to apply to the asset.
[Add]
-
Enter a tag, and then press the comma (,) key.
-
If there are already registered tags, select from the drop-down list.
[Delete]
-
Use the <Backspace> key.
-
Hover the mouse over the tag you want to delete and click the
 button.
Archive Location
The type of archive from which to import assets.
Default Asset Type
The default type of the asset.
Asset List *
The list of assets to upload. It displays the information (name, count, type) of the assets added to the upload area in a table format.
The following describes how to add assets to the asset upload area:
-
Drag and drop asset files and folders to upload.
-
Click on the “files” text to select the asset file you want to upload.
-
Click on the “folders” text to select the asset folder you want to upload.
Depending on the upload method selected in the previous step, values may be automatically applied and displayed in the settings.
-
-
Once the settings are complete, click the [Upload] button at the bottom.
-
When the asset upload begins, a progress window will appear at the bottom right of the screen, allowing you to check the upload status in real time.
At this point, if you click the
 icon in the top right corner of the progress window, the window will collapse so that you can only see the upload progress. If you click the
  icon again, the window will expand.
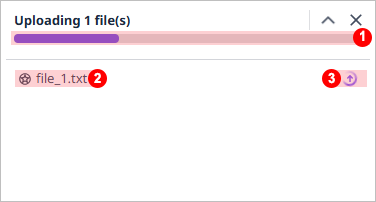
Item Description ①
Upload progress bar.
②
List of uploaded files.
③
Upload progress status.
-
 : Upload in progress
 -
 : Upload complete
-
-
Once the upload is complete, you can check the upload results in the progress window.
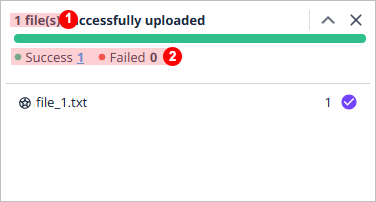
Item Description ①
The total number of files that have been successfully uploaded.
②
The number of files for each upload status. Clicking on each status count will perform the specific action. However, no action will be performed when the count is 0.
-
Success: The number of files successfully uploaded. Clicking this will take you to the main page of the [Analysis] menu.
-
Failed: The number of files that failed to upload. Clicking this will open a dialog box where you can see the list of failed files.
-
Canceling Upload
Canceling Upload of Specific File
You can cancel the upload of a specific file while the asset upload is in progress.
-
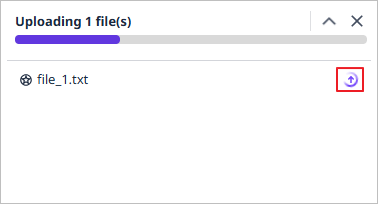
In the upload progress window, hover the mouse over the progress status icon (
 ) of the file you want to cancel.
-
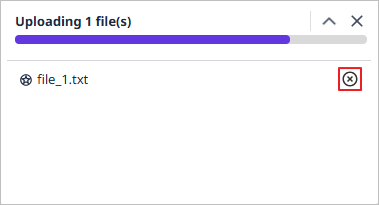
When the icon changes to the upload cancel icon (
 ), click it.
-
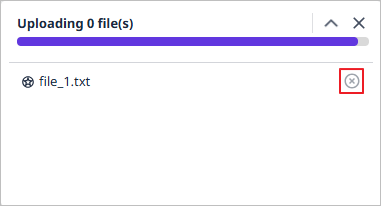
The upload of the file will be stopped, and the icon will change to cancelled status (
 ).
).
Canceling All Uploads
You can cancel the upload of all files while the upload is in progress. However, files that have already been uploaded will remain as they are.
-
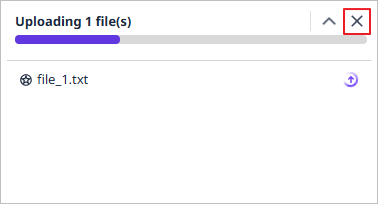
Click the
 icon in the upper right corner of the upload progress window.
-
When the Cancel Upload dialog box opens, click the [Cancel Upload] button.
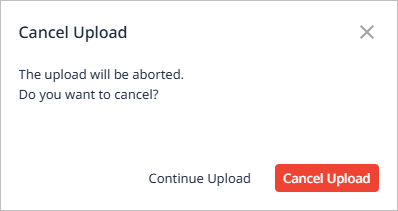
-
All uploads will be stopped, and the progress window will close.