Installing and Uninstalling Studio
This section describes how to install and uninstall AnyLink Studio.
1. Installation
Install AnyLink Studio in Windows as it was developed using the Eclipse IDE.
The following describes how to install AnyLink studio.
-
Go to the directory that contains the AnyLink Studio installer (AnyLink_Studio_7.exe), and execute the file.
-
When the installation is started, the AnyLink Studio introduction screen will be displayed. Check the description about the product and then click [Next] to proceed to the next step. Clicking [Cancel] will stop the installation, and clicking [Previous] will go back to the previous step.
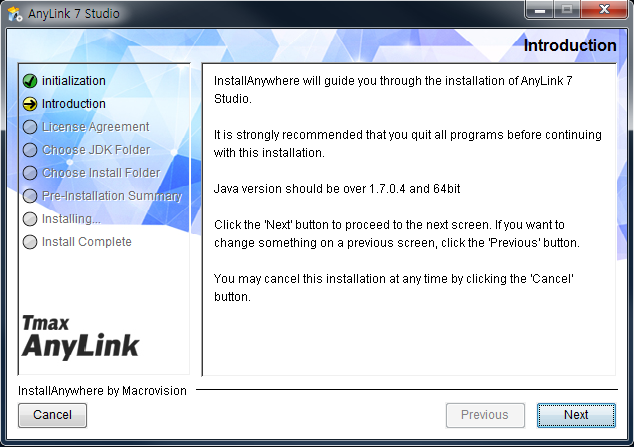 AnyLink Studio Installer - Introduction
 -
The TmaxSoft license agreement screen will be displayed. Read the description and select "I accept the terms of the License Agreement" and then click [Next] to accept the agreement. If not, the installation cannot proceed.
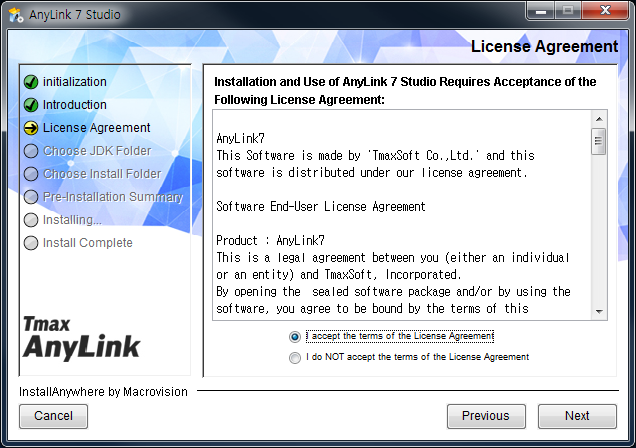 AnyLink Studio Installer - License Agreement
 -
Choose the directory in which JDK is installed and click [Next]. If JDK was not installed in the default directory, then click [Choose…] to choose the location of the JDK directory. To restore JDK’s default installation directory, click [Restore Default Location].
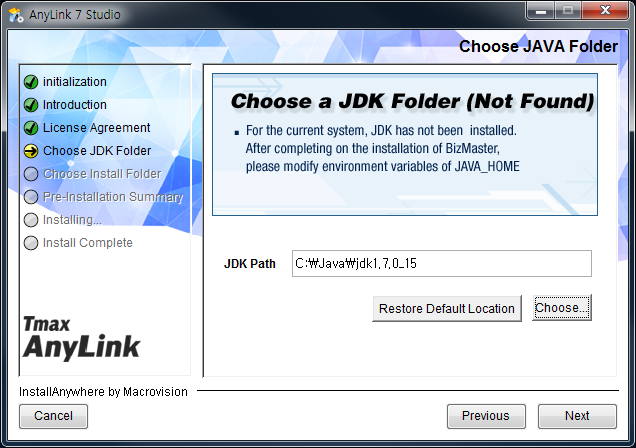 AnyLink Studio Installer - Choose JAVA Folder (1)
 -
Choose the directory in which AnyLink Studio will be installed and click [Next]. In order not to use the default directory, click [Choose…] to choose another installation location. To restore the default installation directory, click [Restore Default Location].
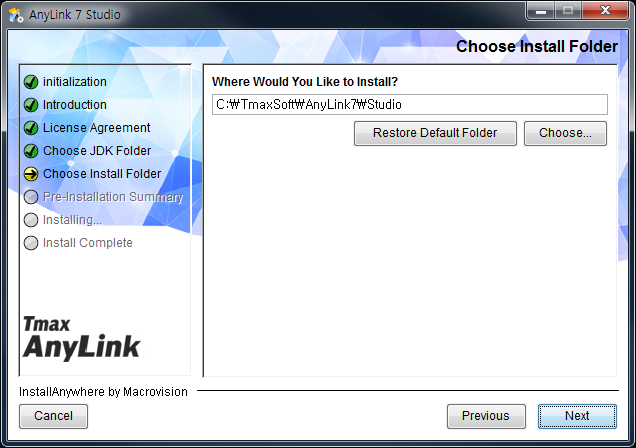 AnyLink Studio Installer - Choose the Java Folder (2)
 -
The pre-installation summary will be displayed before the installation starts. Check that all the settings have been properly set and then click [Install] to proceed with the installation. To change any settings, click [Previous] to go back to the previous screen.
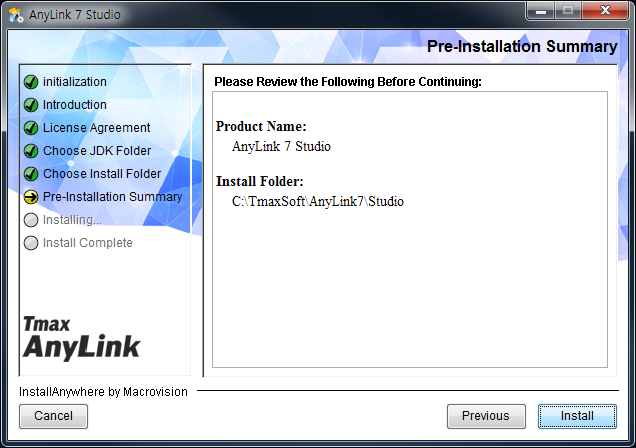 AnyLink Studio Installer - Pre-Installation Summary (1)
 -
Start the AnyLink Studio installation. The installation progress will be displayed through the progress bar.
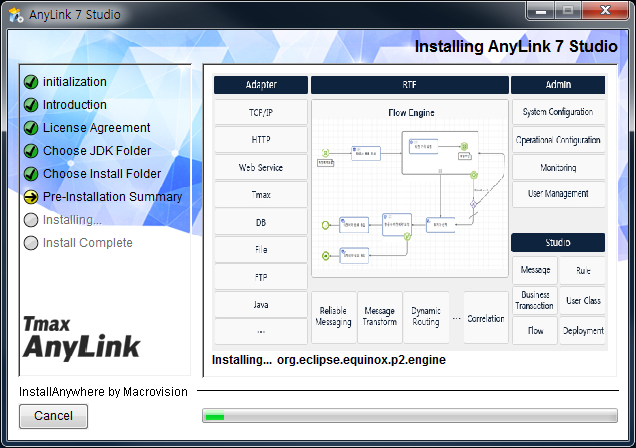 AnyLink Studio Installer - Pre-Installation Summary (2)
 -
Check that AnyLink Studio has been installed and then click [Done]. The installation will end.
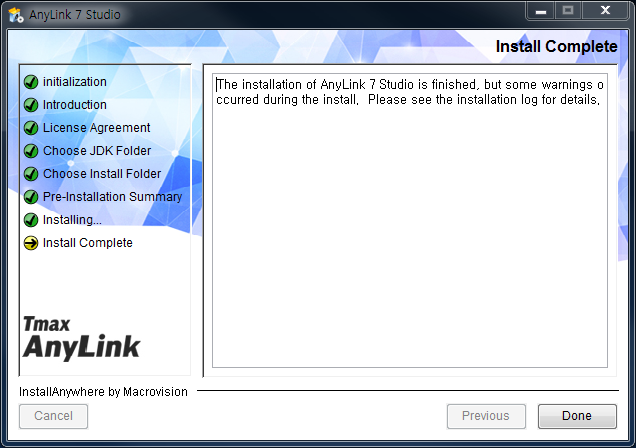 AnyLink Studio Installer - Installation Complete
2. Installation Verification
This section describes how to verify that the installation is completed as well as how to start Studio.
2.1. Directory Structure
The following directory will be created when AnyLink Studio is successfully installed.
$AnyLink_STUDIO_HOME
   +---- configuration
   +---- features
   +---- licenses
   +---- p2
   +---- plugins
   +---- UninstallerData
- configuration
-
Contains the temporary files created automatically when AnyLink Studio is executed.
- features
-
Contains the license file required for using AnyLink Studio. If the license file does not exist, then the user cannot use AnyLink Studio and the user must manually copy the license file.
- licenses
-
Contains AnyLink Studio’s open source license files.
- p2
-
Stores the license files of external libraries used in AnyLink Studio.
- plugins
-
Contains Eclipse’s plugin files and AnyLink’s plugin files.
- UninstallerData
-
Stores the various projects created by using AnyLink Studio. The location can be changed in the Studio settings.
3. Uninstallation
The following describes how to uninstall AnyLink Studio.
-
[Start] > [All Programs] > [TmaxSoft] > [AnyLink7] > [Studio] > [Uninstall].
-
The uninstallation screen will be displayed. Check the uninstallation message and click [Uninstall] to uninstall Studio.
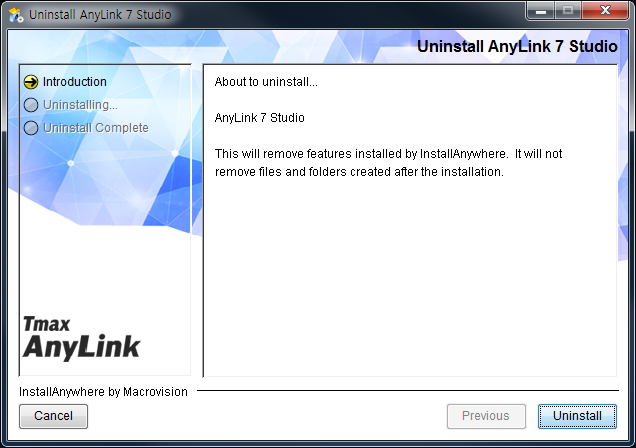 AnyLink Studio Uninstallation
 -
The uninstallation will start.
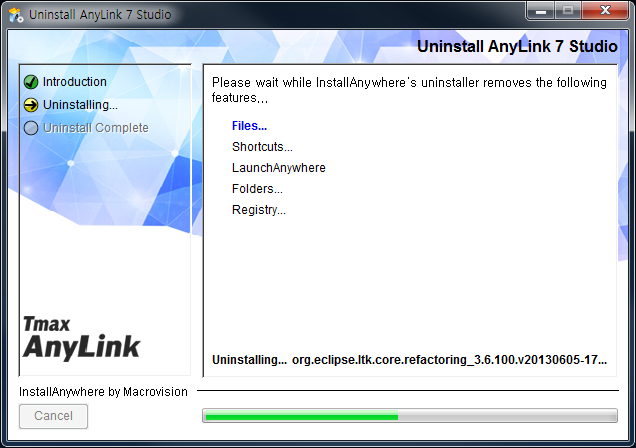 AnyLink Studio Uninstallation Progress
 -
When AnyLink Studio has been uninstalled, then a message will be displayed indicating that the uninstallation has been completed.
Click [Done] to complete the uninstallation.
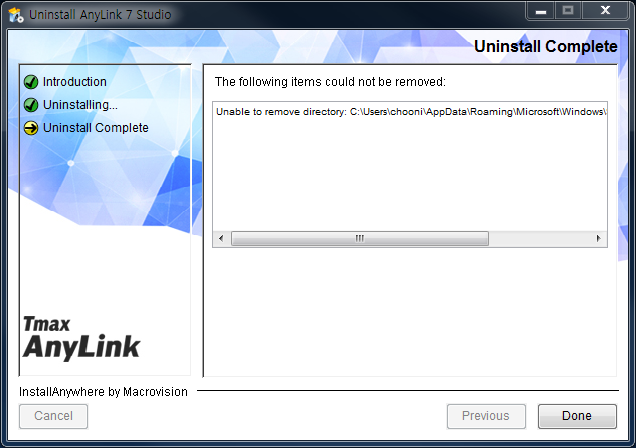 AnyLink Studio Uninstallation Complete
4. Uninstallation Verification
Check that the installation directory specified in the installer has been completely removed. If the user executes the uninstaller directly in the uninstaller directory, then the installation directory and the uninstaller directory can remain as empty directories. This is normal, so delete them manually.
Files and directories added after the installation are not automatically deleted. To delete those files and directories, the user must manually delete them.