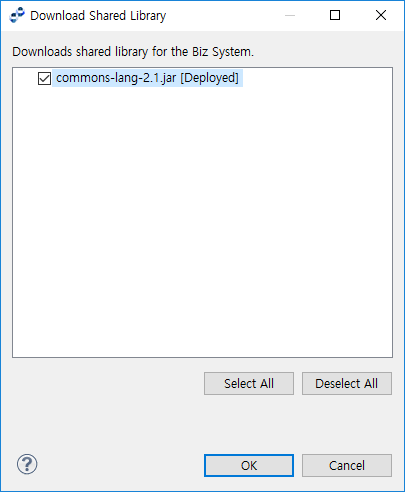
Deployment & Undeployment
This chapter describes how to deploy/undeploy resources to/from DIS.
1. Overview
AnyLink can be used to add resources to a BizTx/BizTx Group and deploy them, and the resources can be rolled back to a previous version through versioning.
In AnyLink, resources can be added to BizTx/BizTx Group and then deployed to DIS and runtime server. The resources in the deployed BizTx/BizTx Group can be modified and redeployed or undeployed from DIS and runtime server.
Deployed resources are registered on the runtime server. The runtime server has information about most of the resources and deployment does not affect the operation of the runtime server engine. However, shared libraries must be deployed before they can be used on the runtime server engine. For more information, refer to the relevant sections.
2. Resource Deployment
A resource is deployed in the IAR format, which is a compressed archive file format. The resource version is 0 before deployment, and is changed to 1 when it is deployed for the first time.
Each time a resource is redeployed the version number is incremented by 1, and the resource can be rolled back to a previous version. When attempting to redeploy a resource that is modified after a rollback, DIS will reject the request because of a version conflict between the local version and the latest version on the server.
In such a case, the 'Skip Version Check' option can be used to deploy the local version to the server as the latest version, but this workaround should only be used when absolutely necessary.
2.1. Deployment Unit
All resources in a BizTx/BizTx Group are deployed as a unit. When deploying a BizTx Group, any child BizTx or BizTx Groups are not deployed by default. The 'Include Subgroups' option can be set to deploy the child BizTx or BizTx Group.
2.2. Deployment
This section describes the deployment process that involves assigning a business system and deploying the resources.
Assigning a Business System
Before deploying the resources, the project must be assigned to a business system.
To assign a business system, select [Assign Biz System] from the context menu of the Project in the Project Navigator. If one is already assigned, the following message is displayed. Click [OK] to modify the current assignment.

To check whether a business system has been assigned to the project, check the project name in the Project Navigator. If one is assigned, the project is shown as "Project Name (Business System)" .
.
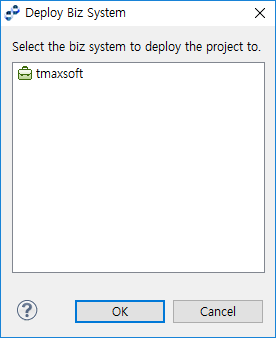
Select a desired business system from the Deploy Biz System window, and then click [OK] to assign the system to the project.
Deploying Resources
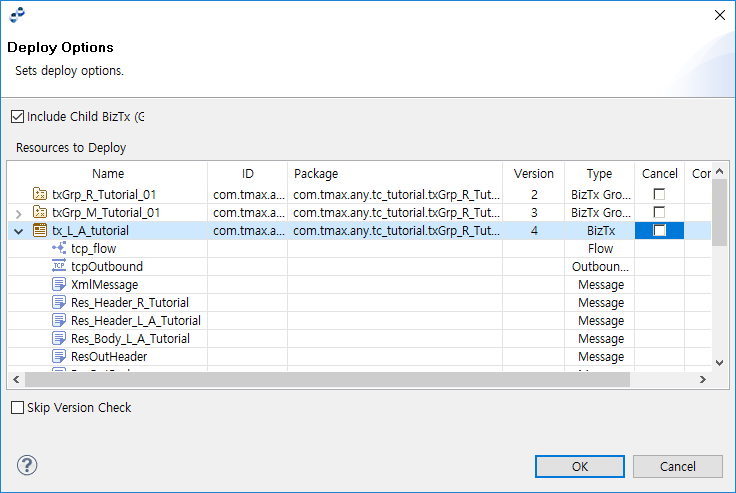
Select BizTx to deploy and then click [Deploy] from the context menu of the BizTx/BizTx Group in the Project Navigator to open the Deploy Options window. Enter the required items, and then click [OK]. The resources are deployed to DIS, and registered on the runtime server. To deploy multiple BizTxs, hold down the Ctrl key and select multiple BizTxs and then click [Deploy].
| Item | Description |
|---|---|
Include Subgroups |
Option to deploy the child BizTx and BizTx groups that belong to the BizTx Group. |
Resources to Deploy |
List of resources to deploy. Check the list with the following information.
|
Skip Version Check |
Option to deploy the local version as the latest version if a later version exists on the server. |
3. Resource Undeployment
This section describes how to undeploy a resource. When a resource is undeployed, all data related to the resource is changed to the undeployed state on DIS.
3.1. Undeployment Unit
Similar to deployment, all resources in a BizTx/BizTx Group are deployed as a unit.
3.2. Undeployment
Undeployment also unassigns the resources from the business system.
-
Undeploying Resources
Click [Undeploy] from the context menu of the BizTx/BizTx Group in the Project Navigator to open the Undeploy Options window.
Enter the required items, and then click [OK]. The resources are undeployed from DIS, and they are also stopped and removed from the runtime server engine. If a BizTx Group is undeployed, its child BizTx/BizTx Group nodes are also undeployed.
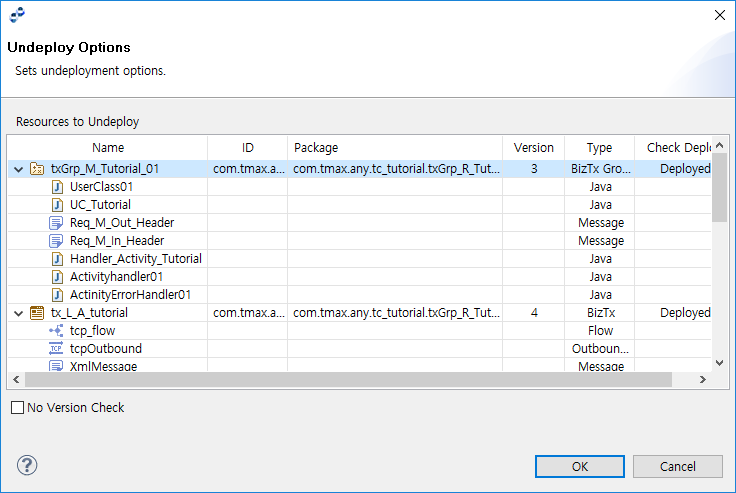 Undeploy Options
Item Description Resources to Undeploy
List of resources to undeploy. Check the list with the following information.
-
Name: resource name.
-
ID: SYS ID of the BizTx node.
-
Package: package name of the BizTx node.
-
Version: current version of the BizTx node.
-
Type: Resource type.
-
Check Deploy: deploy status, if currently deployed.
Skip Version Check
Option to undeploy the local version if it is not the latest version.
-
-
Unassigning a Business System
To unassign a business system, select [Unassign Biz System] from the context menu of the Project in the Project Navigator. For a common business project, a business system cannot be unassigned. The assignment can only be modified. For more information, refer to Deployment.
4. Shared Library Deployment & Undeployment
This section describes how to deploy and undeploy a shared library.
A shared library is a jar file that includes Java compiled library files. Once the jar file is deployed and registered on the runtime server, it can be used by all BizTx nodes providing extended use of various classes. Note that a deployed library may conflict with another library on the runtime server so that the server cannot distinguish which library to call. Since such a conflict can incur problems in AnyLink, care should be taken when deploying a shared library.
To deploy a shared library, specify the target deploy path in the 'Shared Library Path' item in the WebAdmin page shown by selecting [Admin] > [DIS].
4.1. Deploying a Shared Library
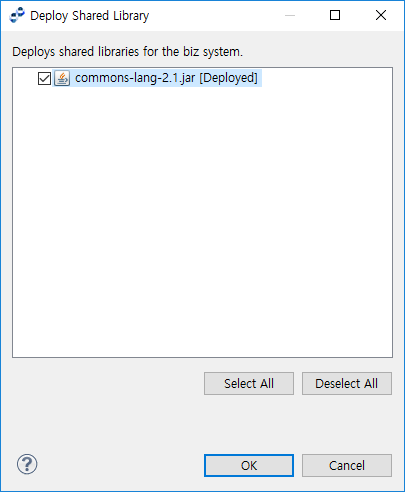
Click [Deploy] from the context menu of the Shared Library in the Project Navigator to open the Deploy Shared Library window. Select the library to deploy, and then click [OK] to deploy the shared library.
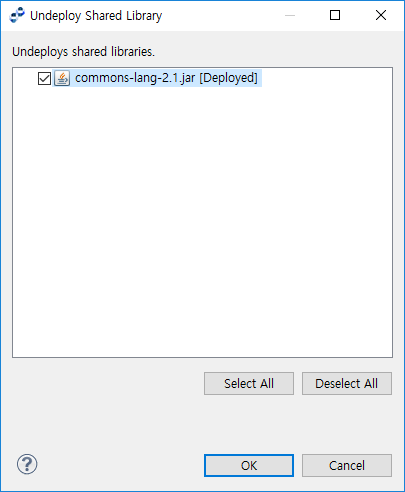
4.2. Undeploying a Shared Library
Click [Undeploy] from the context menu of the Shared Library in the Project Navigator to open the Undeploy Shared Library window. Select the library to undeploy, and then click [OK] to undeploy the shared library.
