Server and Studio Installation Verification
This chapter describes how to verify ProFrame Server and Studio installation.
1. Server Installation Verification
1.1. Server Directory Structure
Confirm that the following directory structure is created after installing ProFrame Server.
ProFrame5.0
+---- compile
+---- logging
+---- release
+---- ws
|---- package
        +---- jeus6
        +---- tmax
        +---- proframe
- compile
-
Contains source of resources (service, business, and batch modules, etc.) in operating area (RI).
- logging
-
Contains online service log.
- release
-
Contains source of resources (DBIO, structures, messages, FileIO) in operating area (RI).
- ws
-
Contains source of resources in WorkSpace (WS) area. When creating a resource, a directory with the name of the WS_HOME value (ws) set in WebAdmin is automatically created.
1.2. WebAdmin Connection
Connect to WebAdmin after installing ProFrame Server.
The following are the steps for connecting to and logging in WebAdmin to verify the ProFrame Server installation.
-
Enter the following URL in the address bar of your browser.
http://IP_ADDRESS:PORT/pfmdevsvr/login.jsp
'IP_ADDRESS' is the IP address of the host where the integrated server is installed, and 'PROT' is the listen port number of the integrated server set in WEBMain.xml.
-
The following WebAdmin login screen is displayed.
To log in to WebAdmin, select a project from 'PROJECT ID', enter your ID and password in the 'ID' and 'PW' text boxes, and then click [Login]. You can also use the default ID and password. The default ID is 'Tester' and password is '1234'.
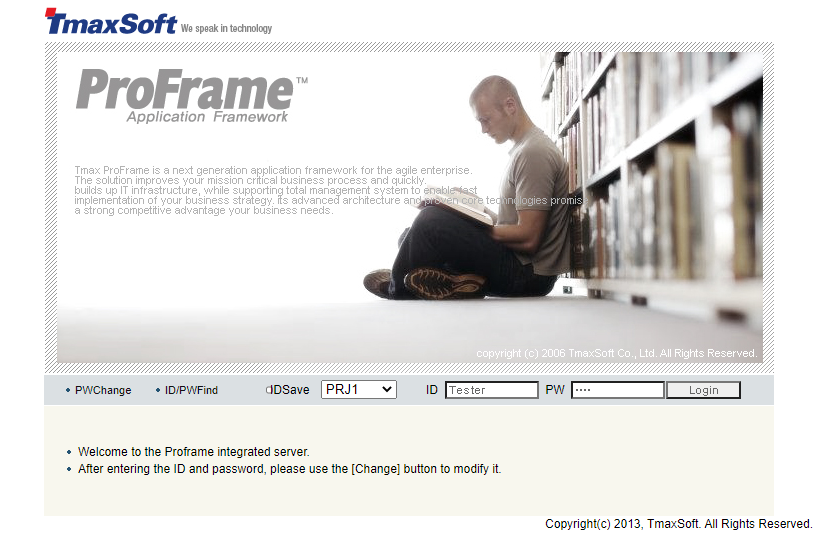 WebAdmin Login Screen
 -
The following WebAdmin main screen is displayed.
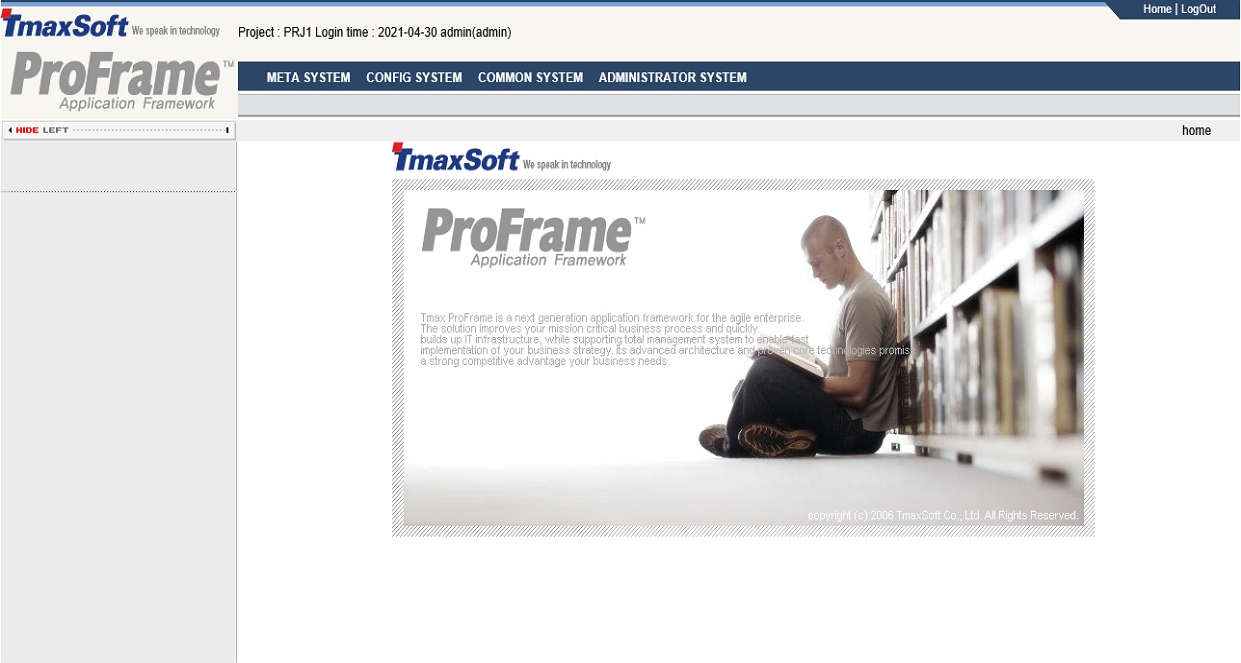 WebAdmin Main Screen
If no image or menu is displayed in WebAdmin main screen, this means that the installation was unsuccessful. To solve this issue, check the configuration files (JEUSMain.xml, PfmDevSvr.xml) and the database table (DEV_CONFIG).
2. Studio Installation Verification
Execute ProFrame Studio with one of the following.
-
Using TmaxSoft menu
Select [Start] > [Programs] > [TmaxSoft] > [ProFrame 5.0] > [Studio] > [ProFrame5C].
-
Using the shortcut
Double-click the ProFrame5C shortcut in desktop.
The following are the steps for verifying the Studio installation.
-
Execute Studio.
 ProFrame Studio – TmaxSoft ProFrame Introduction
 -
Select a workspace directory for a project to create and then click [OK].
The default directory is "C:\Documents and Settings\computer_user_account\workspace". To change the directory, click [Browse(B)…] and select a desired one.
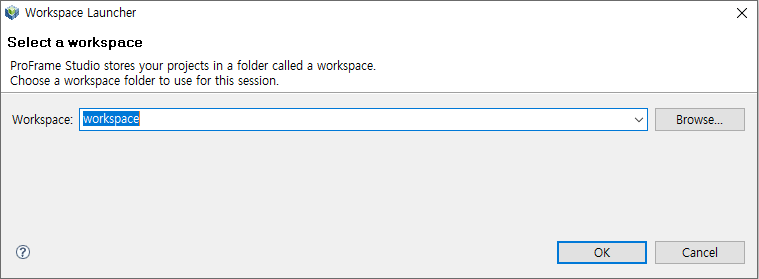 ProFrame Studio – Workspace Launcher
 -
Studio-related files (Workbench, plug-ins, etc.) are loaded.
 ProFrame Studio – Loading Screen
 -
Studio screen is displayed.
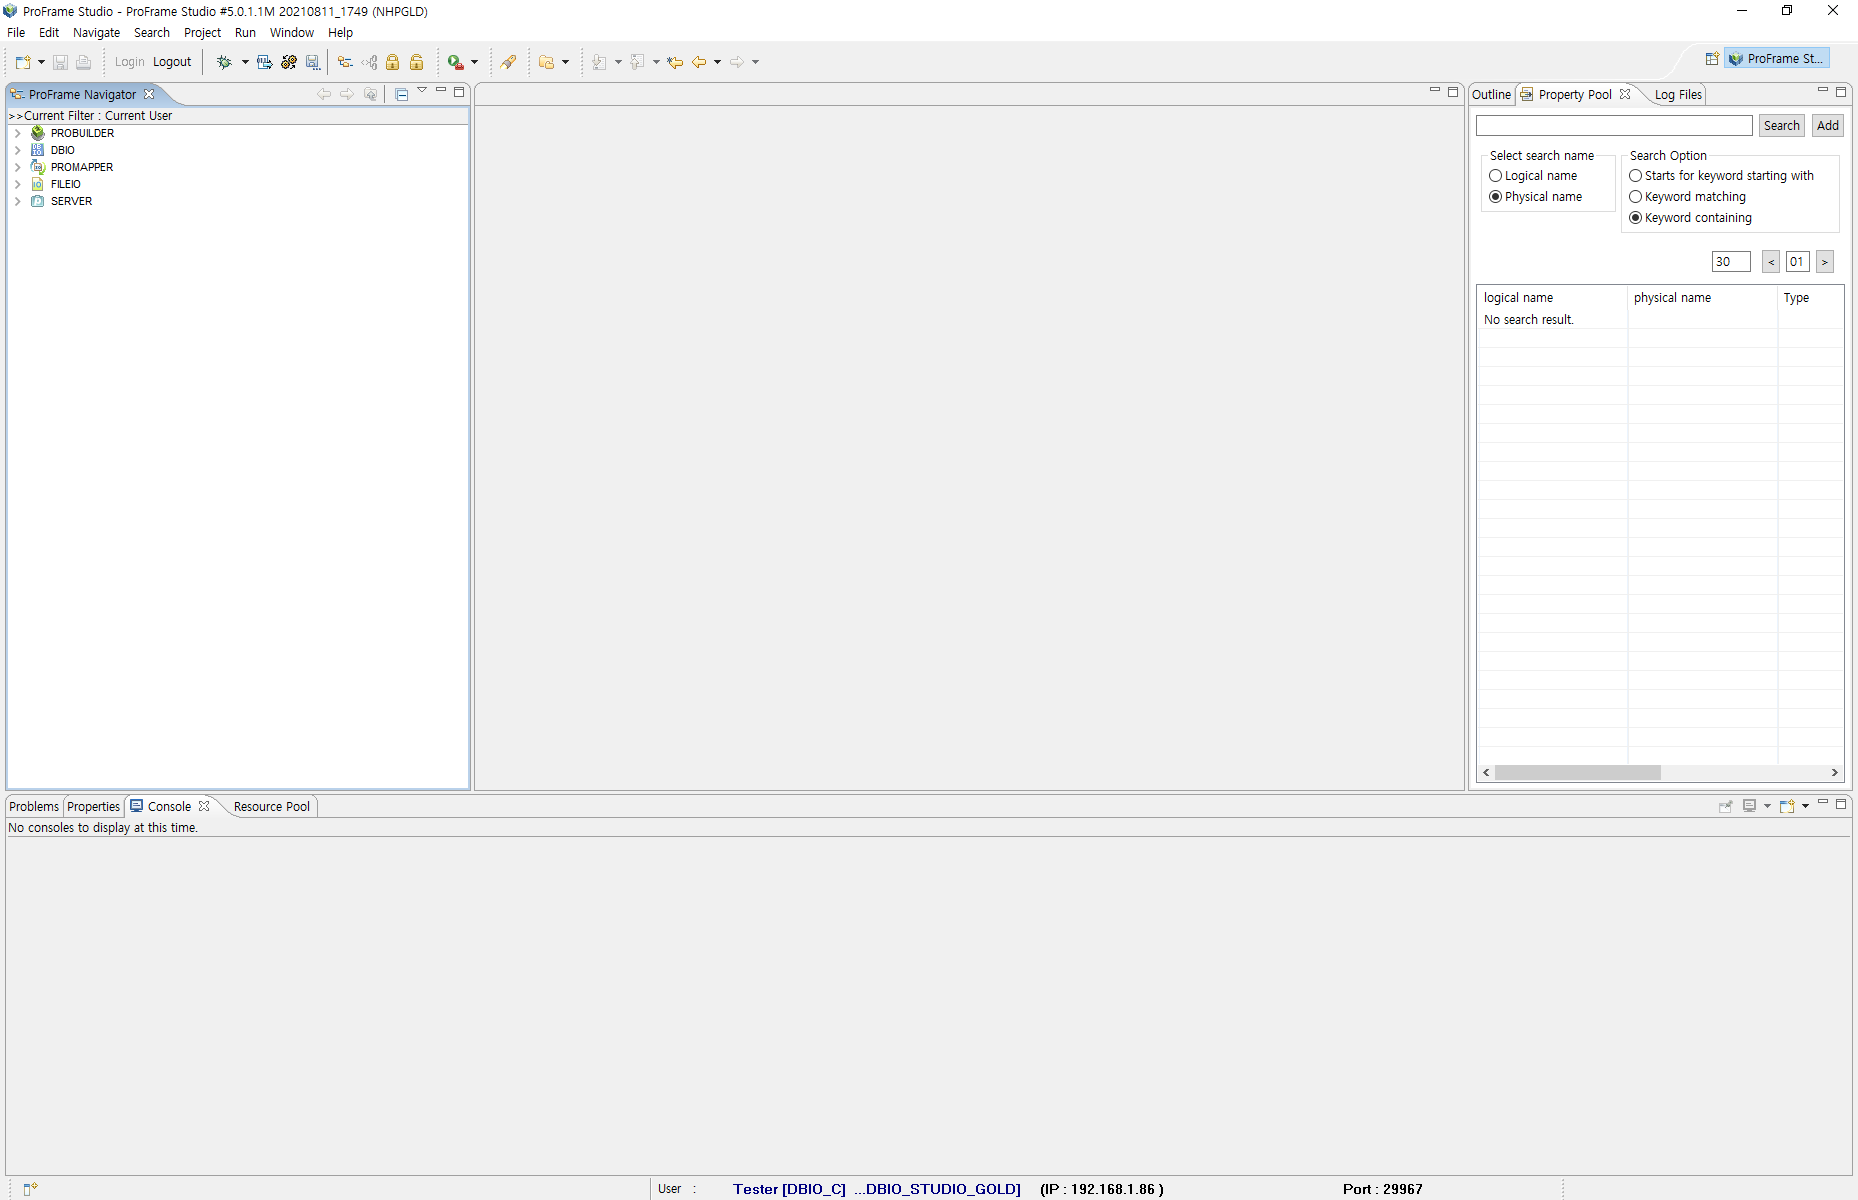 ProFrame Studio – Starting Screen